The following is a guest post by commercial drone pilot and writer Terry Jarrell. Drone Minute is a series of short, to the point lessons to up your skills as a drone operator.
Capturing beautiful aerial video is now made possible and much easier than ever before with drones. Many manufacturers offer preprogrammed flight templates to help you fly autonomously to get some amazing imagery. As good as these programs are, they are still a ‘one size fits all’ approach. Improving your manual flying abilities opens up a new level of possibilities for manually controlling exactly how to get the shot you want without compromises.
Understanding Direction, Speed and Orientation
Typically, flying a nice smooth arc line allows you to focus your camera on a centered subject for images or video. But first, you must get a handle on the elements of flight that come together to make the arc and then practice controlling the motion overall. A curved line, in basic terms, is a combination of forward (pitch) and rotation (yaw) at a controlled speed to form the desired line around your subject.
Speed can alter the definition of your flight line as well. If you rotate (yaw) faster you will create a tighter decreasing radius turn. Slower yaw will give the opposite, or a longer and smoother increasing radius turn. Each of these is just fine, depending on your application and requirements of your project. Flying at a slower speed will give you more control and less of an erratic motion. It is also beneficial to concentrate on easing into, and out of you motions.
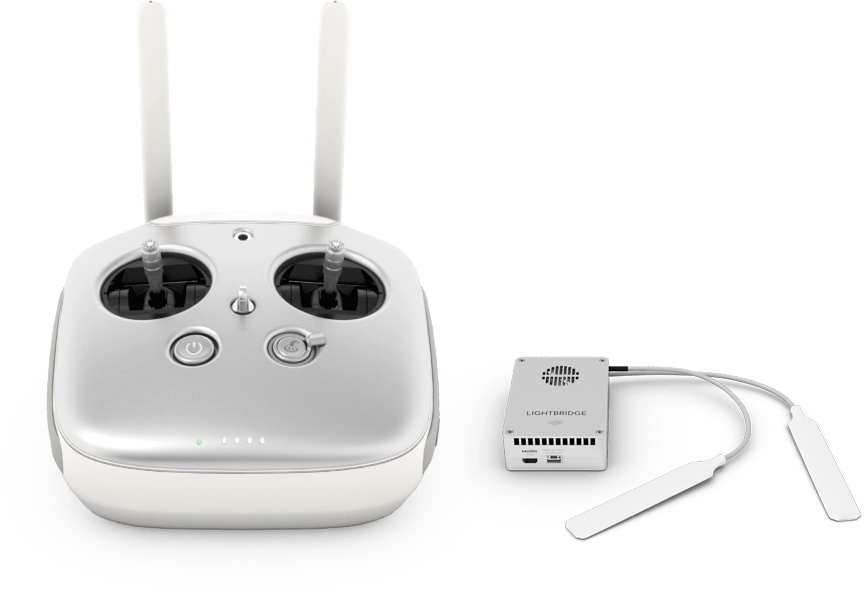
Stick layout is important. Most new drones offer different selections for how your control sticks operate. These are referred to as ‘modes’, usually Mode 1 and Mode 2. Mode 2 is quite common and gives you elevation and rotation (yaw) control on the left stick, and pitch (forward / backward) and roll (left / right) on the right stick. You can refer to your drone manufacturer’s manual to find out how to adjust or change these settings if you so desire.
Get a Grip – How to Hold the Sticks
 The usual design of the controller sticks tends to invite the use of your thumbs on top of the sticks for most control. While this is a great method and absolutely nothing wrong with it, there is an alternative method that works very well for making the finer, slower moves necessary in flying maneuvers such as arcs.
Holding the sticks between your thumb and forefinger may feel strange at first, but it can help give some operators a keener sense of control. You should consider the type of controller you use as well. A controller for a DJI Phantom or Inspire series is larger and laid out differently than say a DJI Mavic Pro or Autel Evo which are more compact designs. This is more of a subjective point and preferences will vary from one person to another, but if you are having difficulty controlling the speed or combination of stick inputs smoothly, it may be worth trying the alternate method. Don’t be afraid to mix it up! Thumb control on one stick while ‘pinch’ holding the other may work well for some as well. The goal is to be comfortable in order to maximize your ability to control your aircraft.
Practice! Practice! Practice!
 Subtlety is a good word to keep in mind. Your goal in flying arcs is to maintain a smooth, graceful line devoid of sudden twitches, jerks or other jarring little fits. As we mentioned earlier, try to think ‘smooth’ when easing into any motion whether it is arcs or more routine elevation or pitch and roll maneuvers and turns. This comes from the good ol’ practice of well, practice!
Take it slow, especially at first. Remember, you are learning how to control your drone in a different way by combining a combination of different input from the two sticks. Breaking down the practice sessions into short elements will help you find the right speed, then the correct rate of turn and then a smooth finish to the maneuver. Once you master each of these, then you can start putting them together into one continuous move. Almost like learning music… first you learn the individual notes then put them together in a chord, then with more practice a nice little melody appears. As you progress you can work up into flying a more complicated set of turns, such as figure 8’s by combining the different elements that you have mastered individually.
Find a nice, big empty space with plenty of room to practice your arc sessions. Minimize distractions, set up a good subject for your reference such as an orange pylon or cone. You don’t need to start off flying very high. An altitude of fifteen to twenty feet is good to allow you to keep an eye on your drone’s motions and orientation as you work through the exercises.
Once you get proficient with flying smooth, well defined arcs as well as controlling the shape, you can move on to adding more advanced parts such as elevation changes and then bringing your camera into the mix. By now you can see that having finely tuned control of your drone not only adds more piloting skills to your abilities but it lets you move beyond the canned, built-in starter patterns that came with your drone’s app.
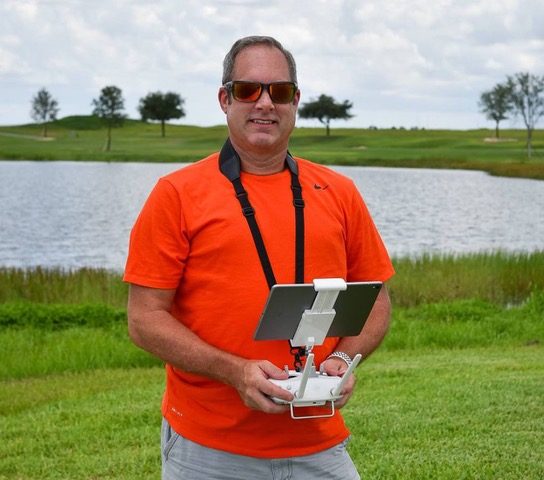 Terry Jarrell is owner of Black Dog Drone Operations in central Florida where he has been a technology professional, Apple consultant, instructor and writer for over 15 years. He is also a FAA CFR 14 Part 107 Remote Pilot dedicated to the advancement of professional, safe and productive drone operation through education and awareness
https://dronelife.com/2018/12/13/drone-minute-flying-the-arc/